Welcome back fellow DIY-ers!!
Its been too long. I know...
But so much good is happening!
I started my final semester at college to get my associates this May (yay!), but it is full time which is new for me so I'm trying to keep it all under control.
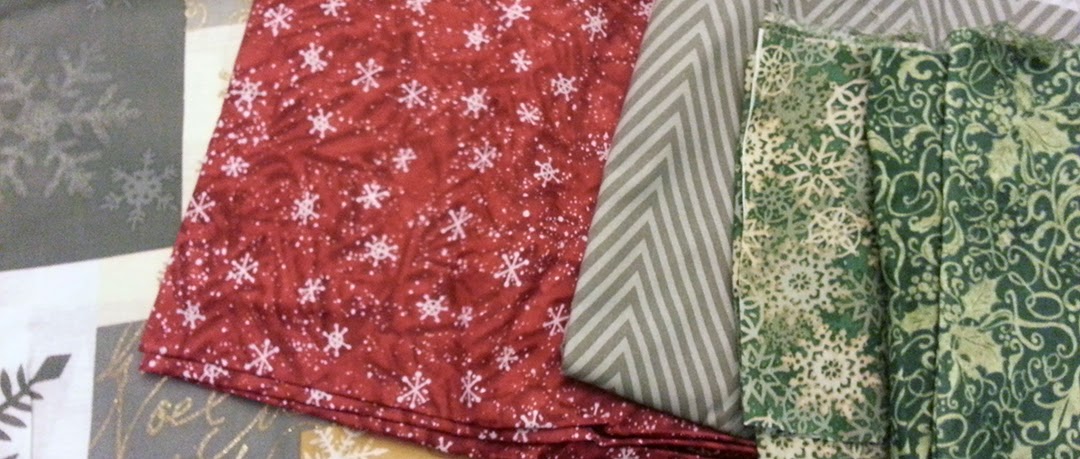
On the wedding planning front, things are coming along.
I got my dress (omg!!), decided on colors, have all my silk flowers, and am collecting things for favors and centerpieces. I have 3 appointments in the next 2 weeks to check out reception venues.
On the home front things are still progressing. I finished my ruffle curtains around Christmas! Let me tell you about them.

I found the idea from pinterest (of course!) from a post that used it as a headboard but I thought it would bring perfect texture into the living room.
I mentioned them to the Fiance and he said sure which I was supprised (they are slightly girly)
I knew I wanted white curtains to keep it light and bright in the room. I followed this tutorial for the most part.
Her tutorial (while very awesome) didn't mention how much she overlapped the ruffles. I wasn't thinking far enough ahead to measure to see how much room I had to play with, I just wanted to get going on the project so I overlapped them by 2 inches. This is what I would have done differently - I would have overlapped them more. When you get to the top, you can see the line because you are looking up at them. But as long as you stand on the other side of the room it doesn't matter
so no standing my the windows in my house lol
I started by washing and ironing each sheet. I got my sheets at Walmart for $11.88 each.

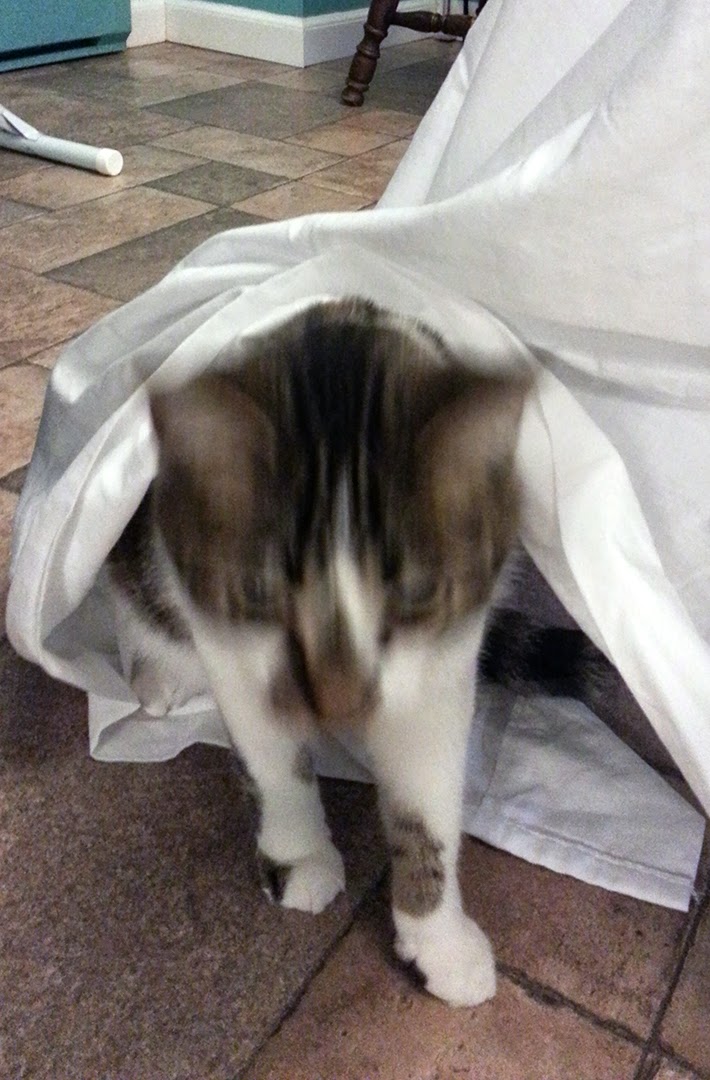
then fought with Harley since she thought I had this fabric out just for the sole purpose of entertaining her

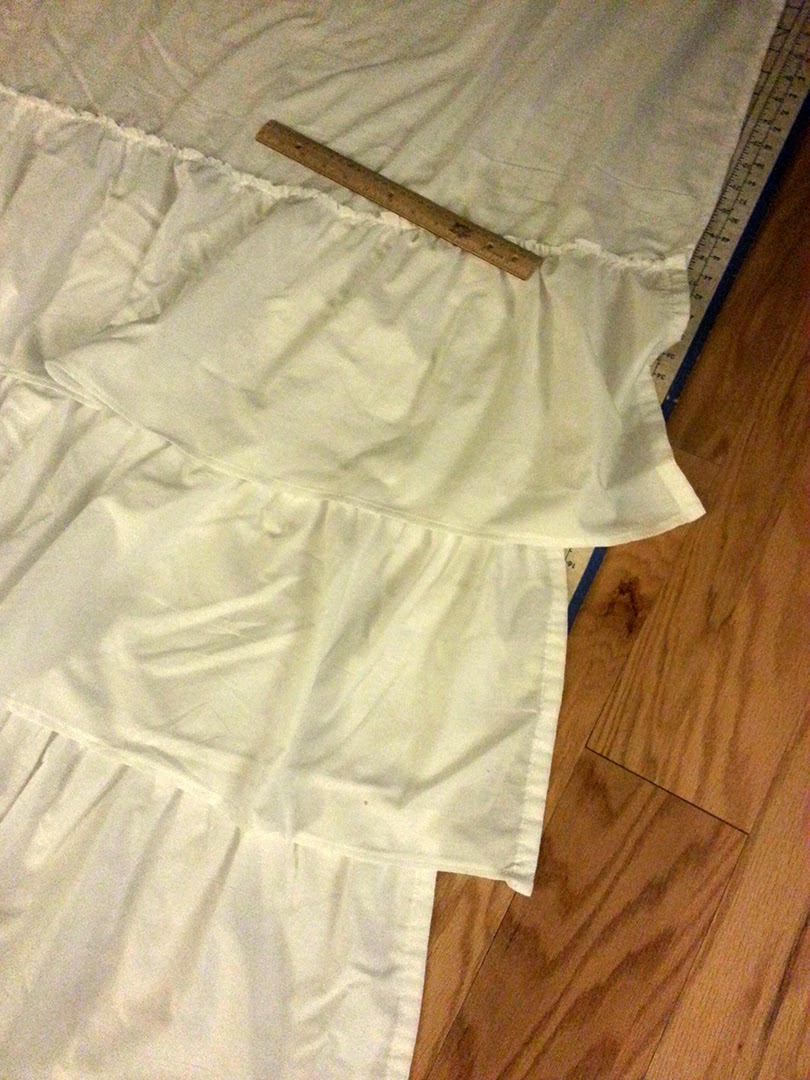
Lay out each sheet and cut it based on the tutorial. I cut at 12 inches instead of worrying about the 12.25 or whatever the tutorial said.

I folded the raw edges twice so I wouldn't worry about fraying and hemmed them.

I used a ruler to measure between the ruffles the aforementioned 10 inches, I would suggest only doing it by 8 inches or so if I had to do it over again.

In the tutorial she goes over how to sew the top ruffle on upside down to flip it over and create the pocket for the rod. I am in love with these!!

Here is how we normally keep them. You can see our heaters are under the window and by closing the curtains the room gets pretty cold.
On next week's to-share list is my hand painted pallet wood sign!
Happy DIY'ing